 TEXT ONLY GOLD")
 TEXT ONLY GOLD")


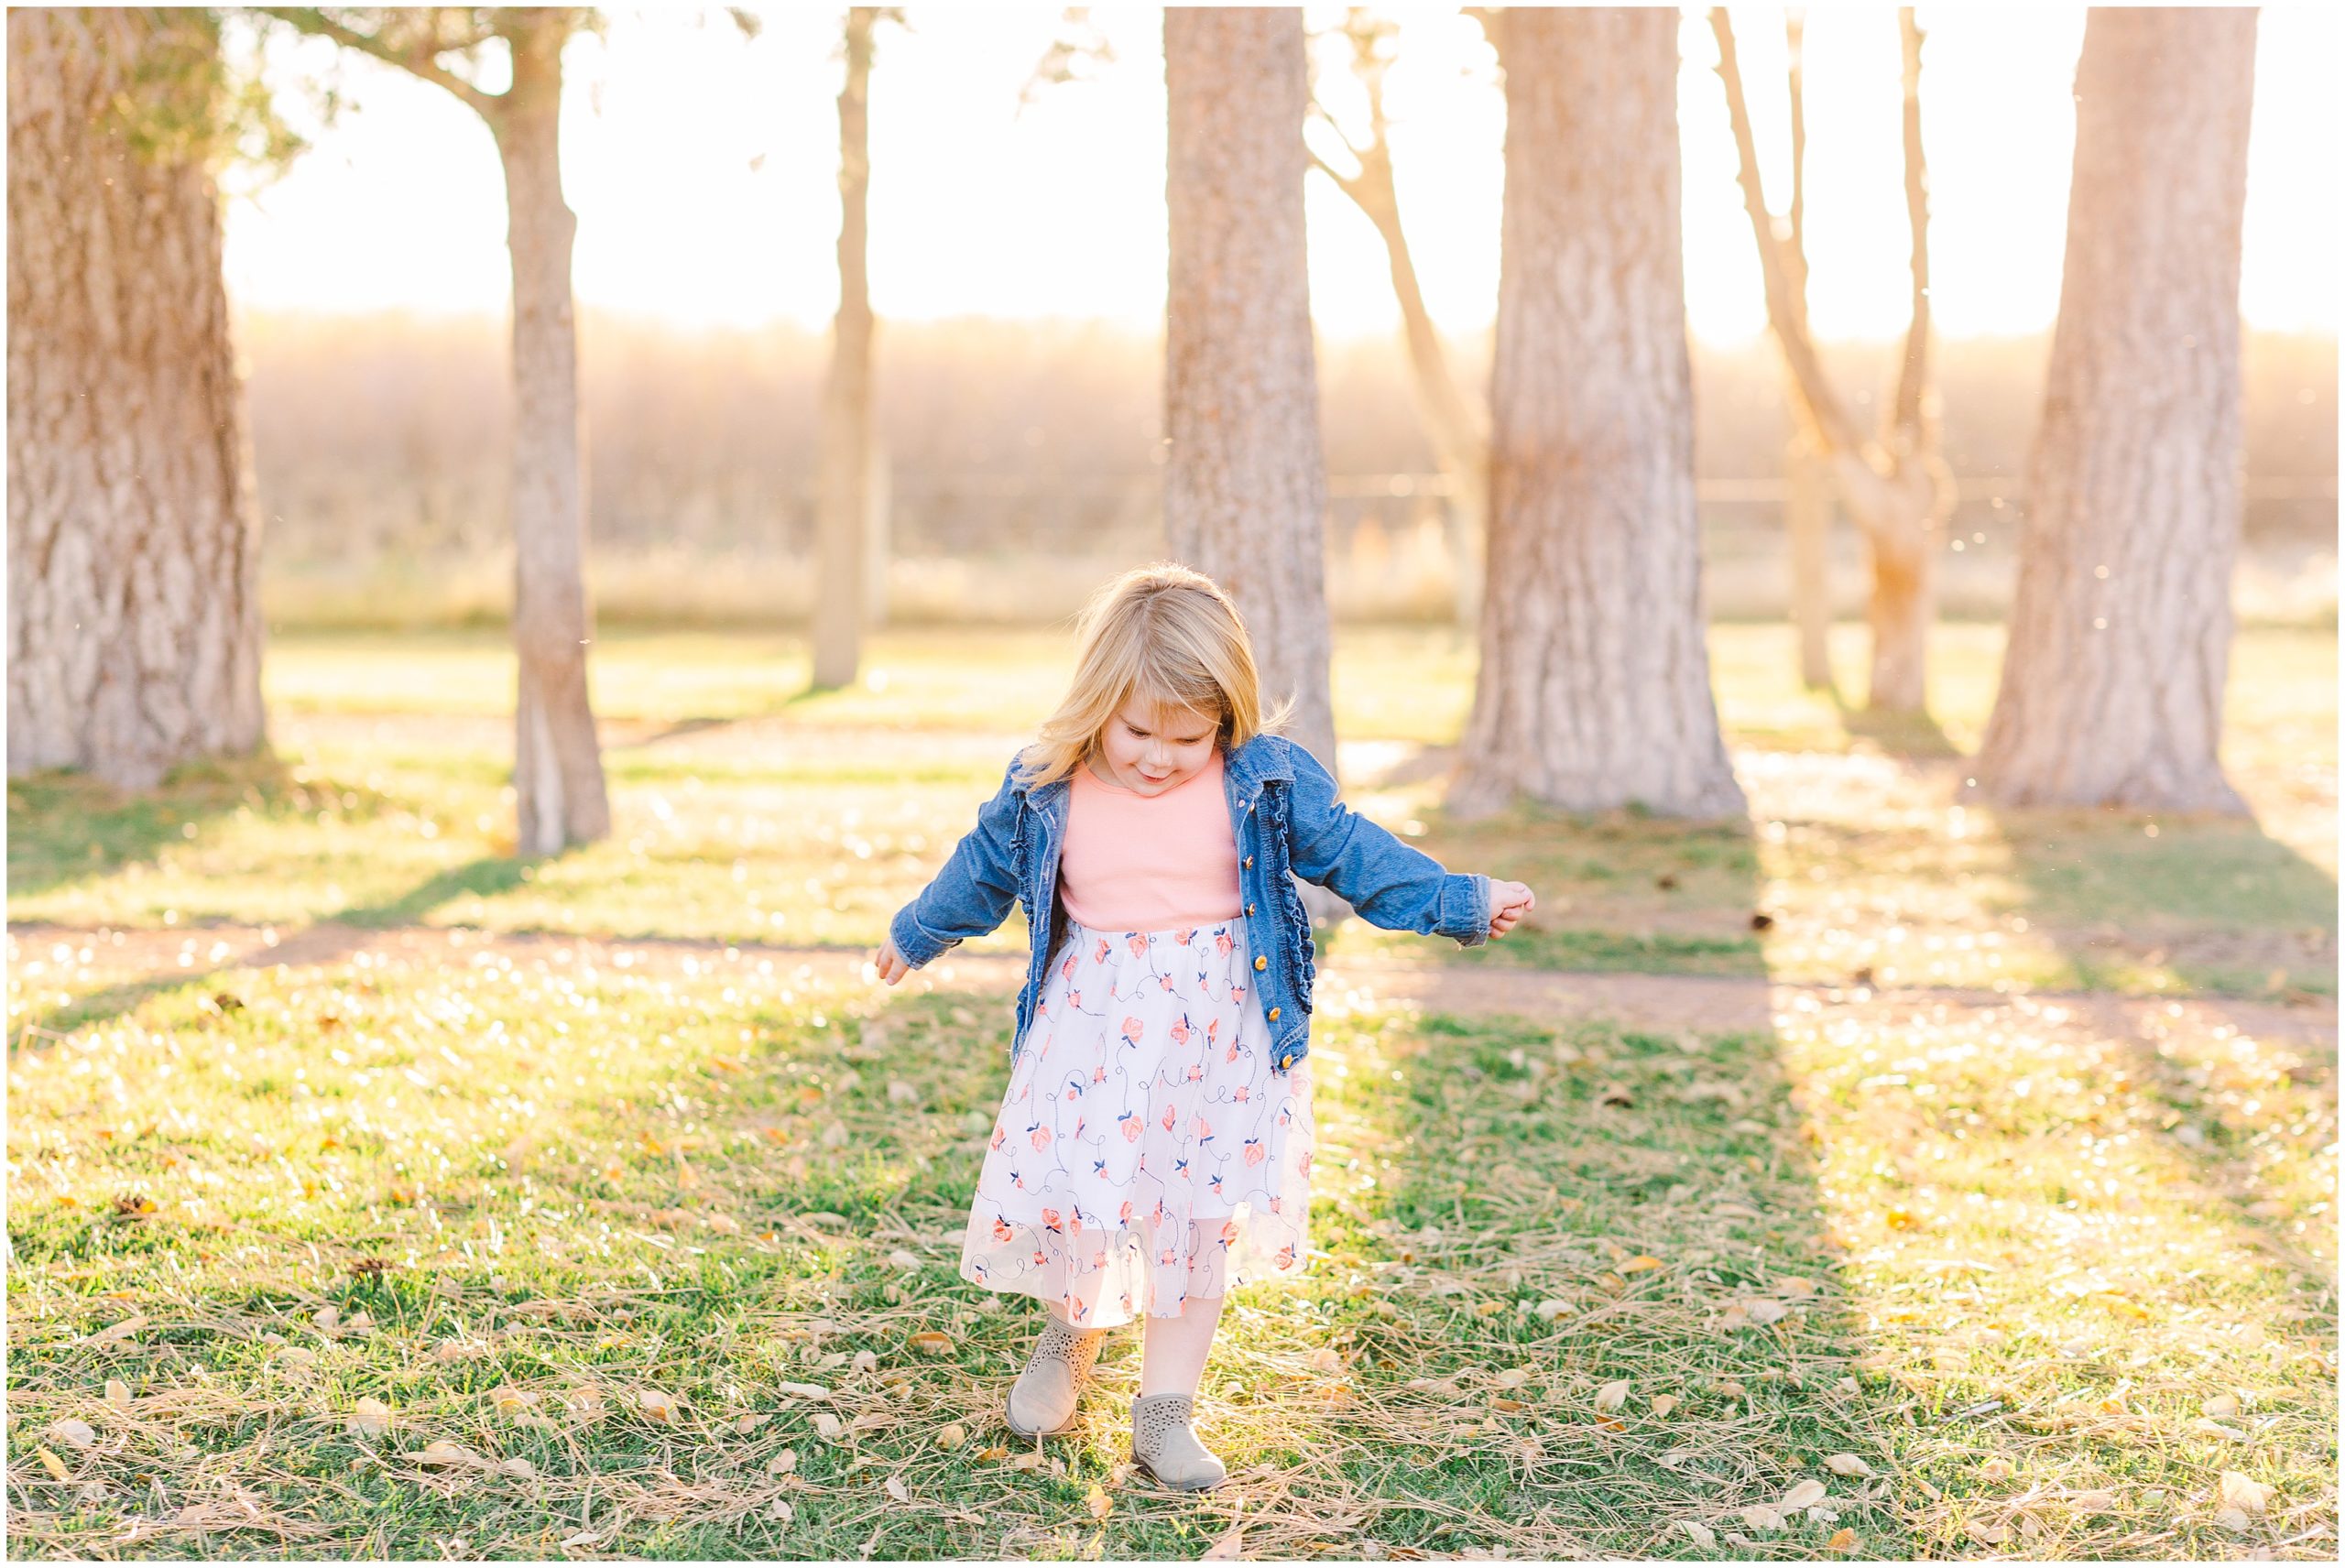
Always. I always choose lighting over location. This is a strange concept to most and I totally get that. My hope is that by the end of this blog post you’ll see why I do this with every session, every wedding, every time.
Education + Knowledge
I truly believe in the power of education and knowledge. When I first started photography, I knew nothing (. . . literally nothing) about lighting. I educated myself from the best in the business. So, i started constantly attending webinars, watching videos, picking up my camera and shooting multiple times a day. I practiced in every type of lighting, every type of situation, everywhere I could. I went to pretty places and not so pretty places. Later, I would change all the settings one by one and then compare them all when I got home. Wanting to see what the recipe was for the ‘perfect portrait’, I was constantly learning. Mastering my craft and growing with every shot was my goal. I gradually learned how to master my settings, I learned when the best time of day was for sessions, and learned how to use my camera inside and out. But, one huge thing stood out to me, it didn’t make a difference how beautiful the scenery was or how gorgeous my subject looked if the lighting wasn’t good and unfortunately, it wasn’t something I could fix afterwards. This is when I first realizied that I needed to chose lighting over location.
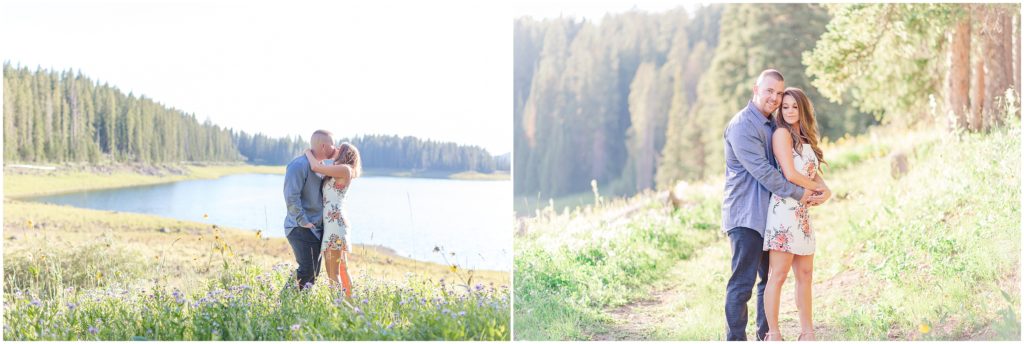
Living in Western Colorado, we are surrounded by mountains, beautiful snow capped peaked mountains, which makes for epic background shots. But, in order to see those mountains behind you, you need good lighting.
Diving in:
I’m going to get just a little nerdy and ‘techy’ here. Bare with me. Depending on how bright my surroundings are I set my exposure (among many other things) accordingly in my camera. So, here is the scene- an engagement session with the rocky mountains behind my couple. If the sun is very bright and hitting the mountain behind my subject, I can expose for my subject or my sky (read background) but not both. I need even lighting to expose them both properly. That could mean micro adjustments will do the trick, or waiting until the sun moves position, temporary cloud coverage, or it could mean changing locations entirely. The background might be the most immaculate landscape you’ve ever seen, but if the sun is hitting it straight on, it will look blown out, meaning completely overexposed (read white). Or, if there is no light on the background it will be too dark and underexposed.
Another example would be, a forest full of lush green trees and beautiful trails. If the trees thick and dense, they could block my access to the sun. In that case, I can’t get enough light into my lens to allow the proper exposure. The image will be dark, heavy, and unflattering. However, if I pull my subject in front of those trees and out of the forest or find an opening in the trees the entire image suddenly changes, my light source is back- helping for proper exposure.
Bad Lighting can causes other issues as well- bright spots on subjects, dark circles under eyes, inaccurate skin tones, lens flare, haze, color changes on clothing, etc . . .
Buzz kill: Bad lighting can’t be edited out. These changes and adjustments need to be made on site, in camera. Here’s a video that’s a little more in depth in understanding how harsh lighting effects the outcome of your images.
When we are in an epic location, or have the opportunity for a once-in-a-life time background, but I know that right now it won’t work, I always let my client know that we will be able to capture that scene as soon as we have the right light, and 99.9% of the time, we get it!
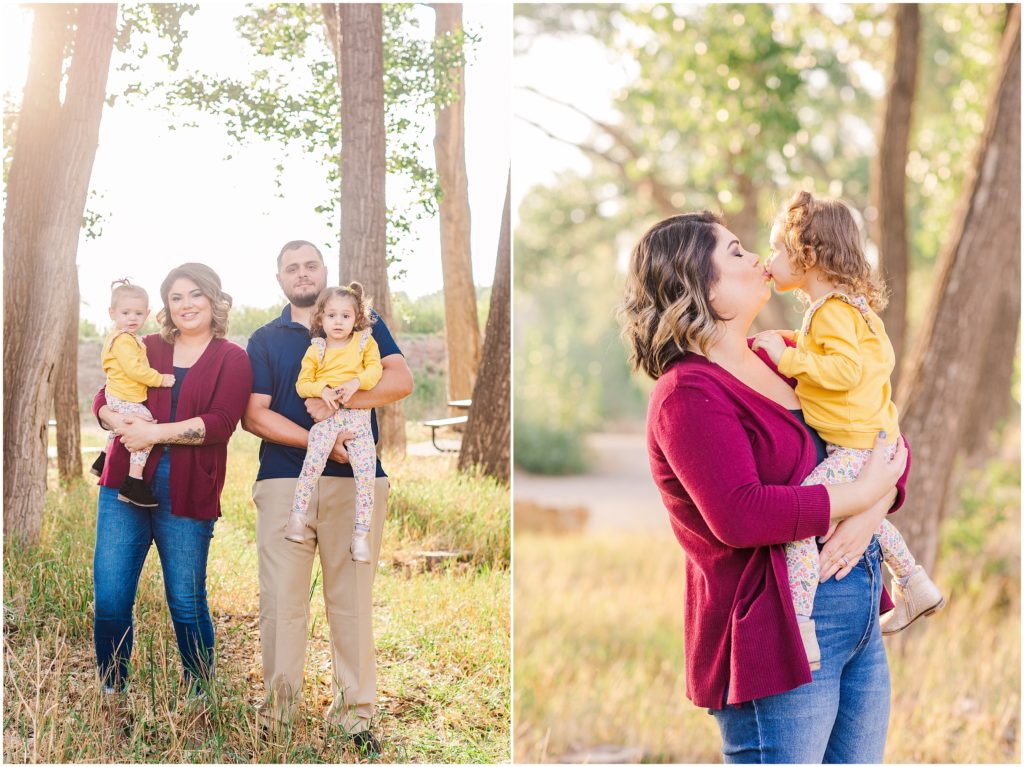
Every time I am behind the camera my goal is to make you feel and look your best! If a location is beautiful but the light isn’t flattering it becomes extremely hard to give you the end result we are both hoping for.
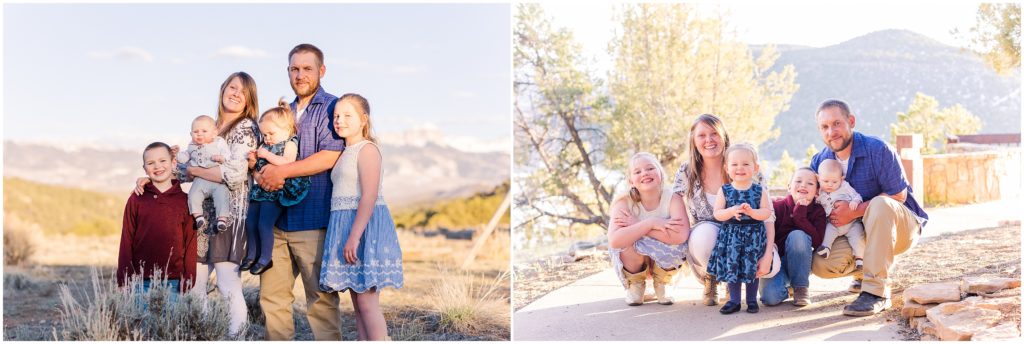
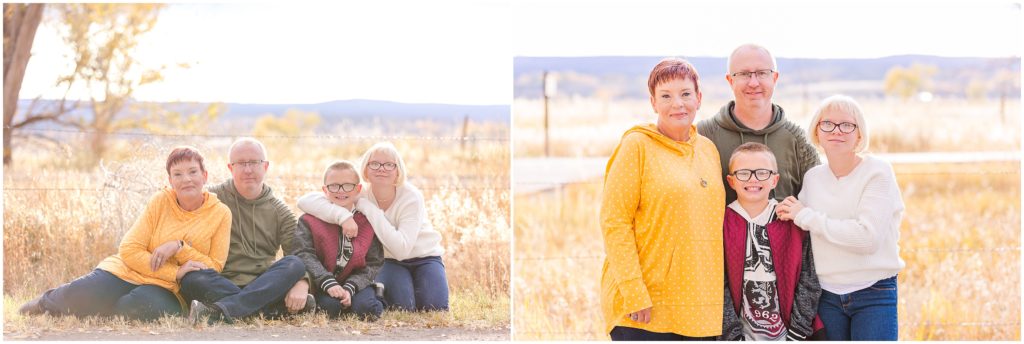
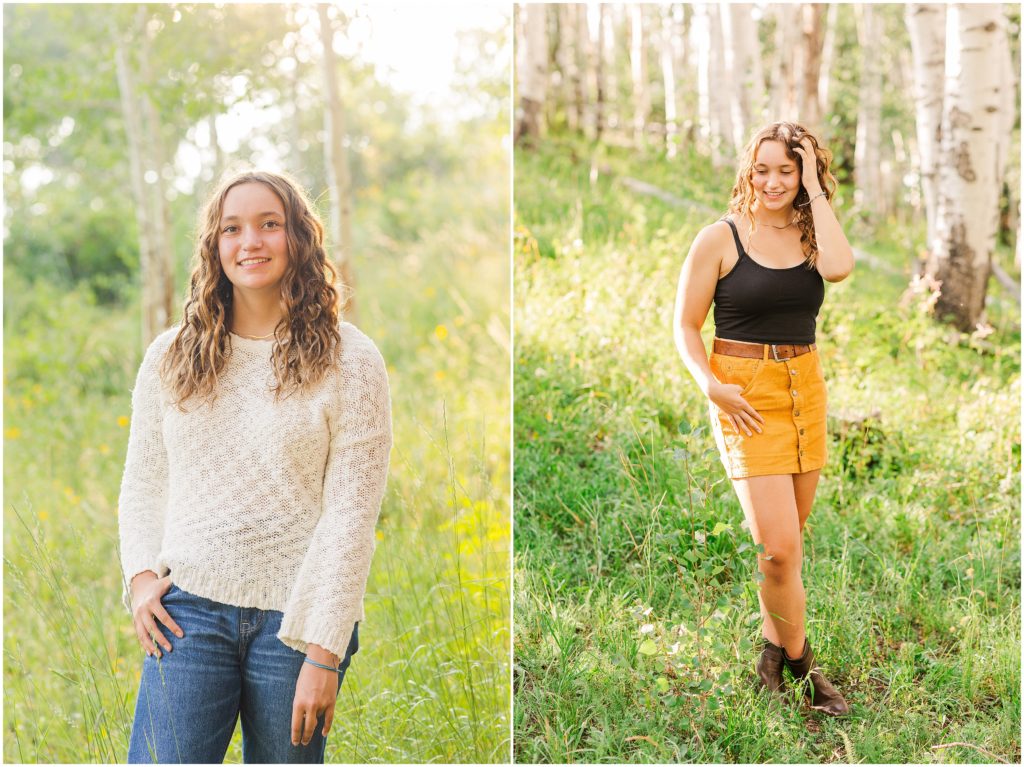
I hope that was helpful in understanding a little bit of my process when choosing lighting over location. Visuals always help so I’m going to give you some side by side examples of good vs bad light. Your eye will automatically be drawn to the image on the right, the properly exposed photo but read the captions underneath for specifics on what the differences were.
If you are wanting some more tips and real life situations on what makes a good location, I’ve compiled a list for you. Hopefully this will help you when looking at your next venue for your photos.
Side note: Trust your photog, they know what they are doing 😉
Realizing that I had to choose lighting over location was a game changer. It provides a better experience and a better image quality. And, who can argue with that?


 GOLD")
